Investing in a flat roof installation represents one of the most significant commercial or residential property decisions you’ll make, directly impacting your building’s protection and value for decades. While pitched roofs dominate residential construction, flat roofs offer unmatched advantages for certain structures, including maximized interior space, easier maintenance access, and cost-effective installation. The flat roofing market continues its steady 5.7% annual growth rate, reflecting increasing adoption across various property types. However, many property owners enter this substantial investment without fully understanding the intricate process and crucial decision points. This comprehensive guide walks you through each phase of flat roof installation, from initial assessment to final inspection, ensuring you’re equipped with professional-level knowledge to manage this project confidently and avoid costly mistakes that plague unprepared property owners.
The Complete Flat Roof Installation Process
Phase 1: Professional Assessment and Material Selection

The foundation of a successful flat roof installation begins with a thorough property assessment conducted by qualified roofing professionals. During this critical first step, experts evaluate your building’s structural integrity, existing drainage systems, and specific requirements based on local climate conditions. Particular attention focuses on weight-bearing capacity, as flat roofs must support potential standing water, equipment installations, and in some regions, snow loads exceeding 30 pounds per square foot.
Material selection represents your most consequential decision, directly influencing performance, lifespan, and overall project cost. Modern flat roofing systems offer several primary options, each with distinct advantages. EPDM (rubber) membranes provide excellent durability with lifespans reaching 25-30 years when properly installed and maintained. TPO and PVC single-ply membranes deliver superior energy efficiency through their reflective properties, potentially reducing cooling costs by 15-25% in warmer climates. Modified bitumen systems offer exceptional waterproofing characteristics but typically carry higher installation costs. Built-up roofing (BUR) provides outstanding durability but requires specialized installation techniques. Your specific building requirements, budget constraints, and long-term objectives should guide this crucial decision in consultation with experienced professionals.
Phase 2: Comprehensive Project Planning and Preparation
Once material decisions are finalized, detailed project planning begins. This phase includes creating precise timelines, securing necessary permits, and establishing contingency plans for weather delays or unexpected structural issues. Reputable contractors provide comprehensive written estimates outlining all costs, including materials, labor, removal of existing roofing if necessary, and potential supplemental charges for structural repairs identified during installation.
Preparation extends to protecting your property by covering landscaping, removing valuable or sensitive items from the uppermost floor, and establishing clear worksite protocols. Depending on your building’s size and complexity, expect the planning phase to require 1-2 weeks for residential projects and potentially longer for commercial installations. This investment in thorough planning significantly reduces costly mid-project changes and ensures all stakeholders share clear expectations about project scope, timeline, and outcomes.
Phase 3: Removal of Existing Roofing Material

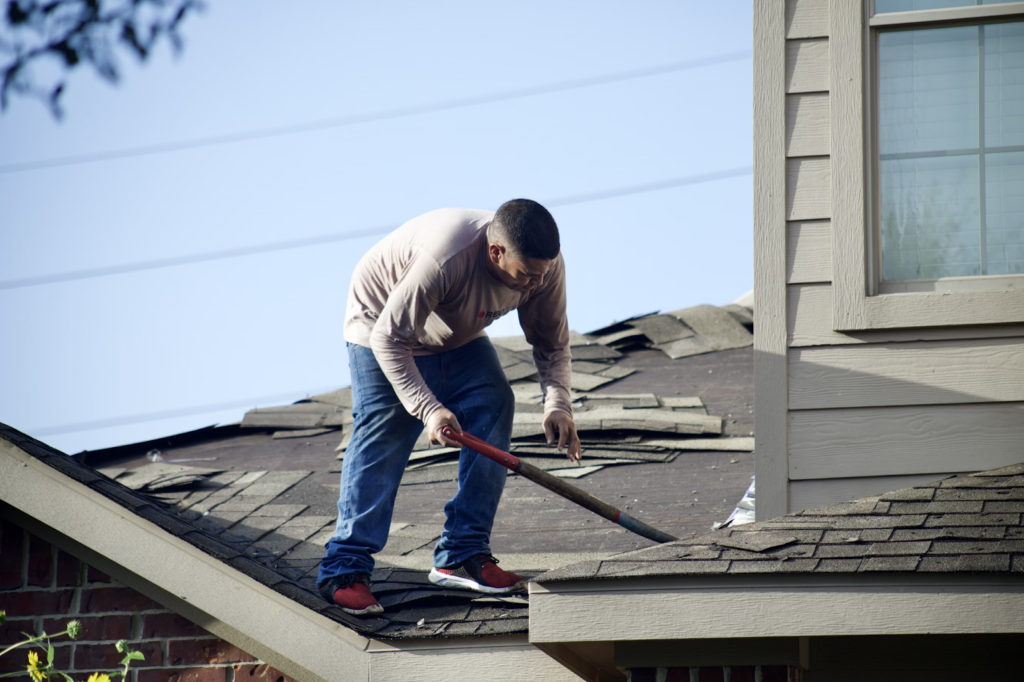
For replacement projects, removing existing roofing materials represents one of the most labor-intensive phases. Professional crews systematically remove old materials down to the roof deck, carefully inspecting for structural damage, water infiltration, or deterioration that might compromise the new installation. This critical inspection often reveals issues invisible from the surface, including water-damaged decking, compromised insulation, or deteriorated flashing around penetrations.
Complete removal typically adds $1-$2 per square foot to project costs but provides essential access for comprehensive repairs and proper installation of new materials. Some situations permit installation over existing roofing, potentially reducing immediate costs by 15-20%. However, industry studies consistently demonstrate that complete removal generally provides superior long-term performance and reduces future complications. Professional crews carefully contain and dispose of old materials according to local regulations, which may include special handling procedures for certain materials manufactured before environmental standards were established.
Phase 4: Structural Repairs and Deck Preparation
With the roof deck exposed, contractors perform essential repairs to ensure a solid foundation for your new roofing system. Common issues addressed during this phase include replacing rotted or damaged decking sections, reinforcing structural supports if required, and ensuring proper slope for drainage. Industry best practices recommend a minimum slope of 1/4 inch per foot to facilitate water runoff and prevent pooling that can dramatically shorten roof lifespan.
Deck preparation continues with thorough cleaning to remove debris and secure any loose components. For concrete decks, crews fill cracks and address surface inconsistencies. Wood decking receives special attention to ensure all fasteners are properly secured below the surface to prevent future protrusions that could damage the membrane. This preparation phase, while sometimes overlooked in discussions, directly influences the new roof’s performance and longevity. Research indicates that approximately 30% of premature roof failures trace back to inadequate deck preparation, making this an essential quality checkpoint in your installation process.
Phase 5: Insulation Installation – The Energy Efficiency Foundation
Proper insulation transforms your flat roof from a simple weather barrier into an energy-efficient building component. Modern installations typically incorporate rigid insulation boards with R-values tailored to your climate zone and building requirements. In northern regions, installers often use multiple layers to achieve R-values of 30 or higher, while southern climates might target R-20 depending on local building codes.
Beyond energy efficiency, proper insulation provides sound dampening benefits, structural support for the roofing membrane, and contributes to overall building comfort. Installation methods vary based on your selected roofing system, with options including mechanical fastening, adhesive application, or ballasted systems. The insulation layer also presents an opportunity to create or improve roof slope through tapered systems, addressing drainage concerns in older buildings constructed with insufficient pitch. This strategic improvement can extend roof lifespan by 30-50% through improved water management, representing an excellent return on the additional 10-15% investment typically required for tapered systems.
Phase 6: Membrane Installation – The Waterproofing Shield
The membrane installation represents the core of your flat roofing system, providing the primary weather barrier protecting your property. Installation techniques vary significantly based on material selection:
EPDM membranes are typically rolled out, allowed to relax and eliminate wrinkles, then secured using either fully-adhered, mechanically-attached, or ballasted methods. Special attention focuses on seam creation, as these represent potential vulnerability points. Modern installation employs seam tape or liquid adhesives that create bonds stronger than the membrane itself.
TPO and PVC installations follow similar deployment patterns but utilize heat-welded seams that create molecular bonds between sheets, essentially creating a continuous membrane. These heat-welded connections, when properly executed, create the most reliable seam technology currently available, with pull tests demonstrating the membrane material typically fails before properly created seams.
Modified bitumen systems involve multiple layers applied using torch-down methods, cold adhesives, or self-adhering technologies. Each approach requires specific expertise, with torch-down methods demanding particular safety protocols due to open flame usage.
Built-up roofing involves multiple alternating layers of bitumen and reinforcing fabrics, creating a robust weather barrier that gains its strength through layer redundancy. This traditional approach requires specialized equipment but delivers exceptional durability.
Regardless of material, proper membrane installation demands meticulous attention to detail around roof penetrations, edges, and transitions where most leaks originate. Professional installers follow manufacturer-specific techniques for these critical areas, often incorporating additional reinforcement, specialized flashing components, and sealants designed for long-term performance.
Phase 7: Flashing and Edge Treatments – Critical Vulnerability Protection
While the main membrane provides primary waterproofing, the integrity of your flat roof ultimately depends on proper flashing and edge treatments. These components address the most vulnerable areas of any roofing system – transitions, penetrations, and termination points. Professional installers incorporate base flashing at vertical transitions, counterflashing where the roof meets walls or higher structures, and specialized components around HVAC equipment, vents, drains, and other penetrations.
Edge treatments, including drip edges, gravel stops, or fascia systems, protect membrane terminations from wind uplift and water infiltration while providing finished appearance. For buildings in regions experiencing high winds, enhanced edge securement systems might be incorporated to meet stringent building code requirements that specify up to 90 pounds per linear foot of attachment strength along perimeters.
This phase requires exceptional craftsmanship, as approximately 60% of all flat roof leaks originate at flashing or edge details rather than within the field membrane. Quality installers dedicate disproportionate attention to these elements, recognizing their outsized impact on system performance. The additional time and materials invested in proper detailing typically add 15-20% to overall installation costs but prevent the most common failure points that lead to premature roof replacement.
Phase 8: Drainage System Installation and Optimization

Effective water management represents the single most important factor in flat roof longevity. Professional installations incorporate comprehensive drainage solutions including interior drains, scuppers, gutters, or conductor heads based on building design and local rainfall patterns. Industry standards recommend a minimum of one drainage point for every 900-1,000 square feet of roof area, with additional capacity in regions experiencing heavy precipitation.
Modern installations often incorporate tapered insulation to create positive drainage toward collection points, eliminating standing water that accelerates membrane degradation. Secondary drainage systems, mandated by many building codes, provide emergency water removal if primary systems become obstructed. These overflow measures prevent catastrophic structural loading during extreme weather events, protecting both the roofing system and the building itself.
For enhanced performance, some installations incorporate drain protection systems that prevent debris accumulation while maintaining flow capacity. These simple additions cost relatively little but significantly reduce maintenance requirements and extend system lifespan by preventing the recurring damage caused by standing water.
Phase 9: Final Inspection and Documentation
The installation process concludes with comprehensive inspection and documentation, essential components often undervalued by property owners. Qualified inspectors thoroughly examine all aspects of the new roof, including membrane attachment, seam integrity, flashing details, drainage functionality, and edge terminations. Many manufacturers require this independent verification to validate warranty coverage, particularly for extended guarantee periods.
Documentation typically includes detailed photographs, material specifications, warranty information, and maintenance requirements. Forward-thinking contractors also provide emergency repair protocols and recommended inspection schedules. This information package constitutes a valuable asset, particularly during property transactions or insurance claims when verification of proper installation becomes crucial.
For optimal long-term performance, establish a regular maintenance program based on manufacturer recommendations, typically including bi-annual professional inspections and prompt attention to any identified issues. This proactive approach typically costs $0.10-$0.15 per square foot annually but extends roof lifespan by 25-50% according to industry studies, representing exceptional return on investment.
Conclusion
Flat roof installation combines technical expertise, quality materials, and meticulous attention to detail across multiple phases. By understanding this comprehensive process, you position yourself to make informed decisions, effectively communicate with contractors, and ultimately secure a roofing system that provides decades of reliable service. The initial investment in quality installation typically adds 15-20% to base project costs but delivers exceptional returns through extended service life, reduced maintenance expenses, and consistent protection of your valuable property.
Whether pursuing flat roof installation for commercial, residential, or institutional buildings, this knowledge empowers you to navigate the process with confidence. Remember that while material selection receives significant attention, the quality of installation ultimately determines your roof’s performance. Prioritize experienced professionals with demonstrated expertise in your selected roofing system, comprehensive warranties covering both materials and workmanship, and a commitment to industry best practices across every installation phase.That’s why partnering with a trusted roofing expert is crucial. Pickle Roofing brings decades of hands-on experience, certified crews, and a reputation for excellence in flat roof installation across all property types. Their team understands the intricacies of each phase—from surface preparation to sealing and final inspection—ensuring every detail is handled with precision. For professional service backed by strong warranties and a commitment to long-term performance, call Pickle Roofing today at (469) 373-4053 and schedule your consultation with confidence.

